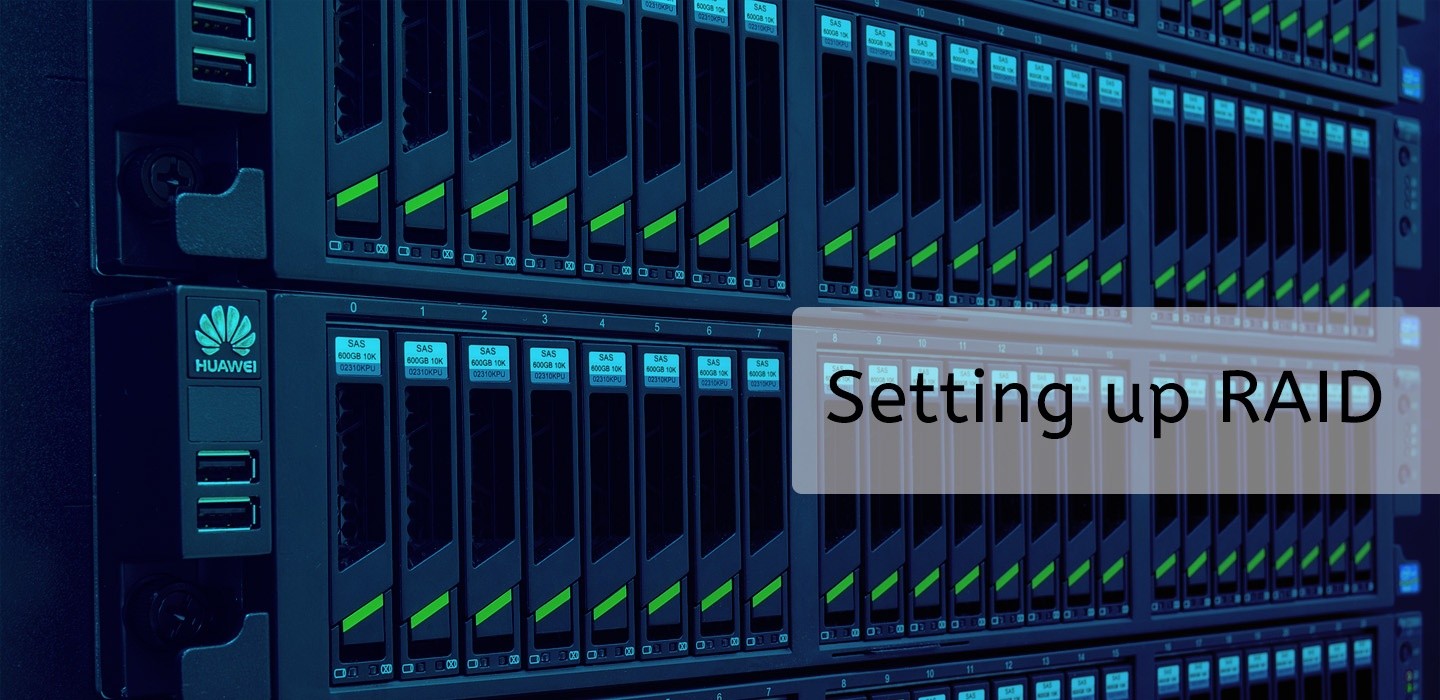
Setting up software RAID
In a previous post (Provider Terms Explained), I had given a quick introduction to RAID. In today’s article, we will setup software RAID on a server. Setting up software RAID,
The best time to install RAID is on a fresh server, but you can still set up RAID on an existing server. Let’s start off with a quick recap of RAID and then jump right in to set it up.
RAID: Recap
RAID stands for Redundant Array of Inexpensive/Independent Disks. It is setup on servers and NAS devices to offer a way to increase reliability while storing data. Setting up software RAID – RAID configurations employ striping, mirroring and parity to achieve varying levels of reliability and performance.
RAID 0
The Stripe Set configuration or RAID 0 is used to store data across multiple disks (at least two) by “striping” data across them. To recreate the complete original data, you will need to merge all the stripes back. Performance is highest in RAID 0, but has no fault tolerance or redundancy built in. Setting up software RAID, Disk failure results in data loss.
RAID 1
This configuration employs mirroring. Data is copied across disks in real-time which each disk serving as a replica of another. If one disk fails, data can be recovered from the second disk. Due to data being written into multiple disks, there is a slight performance degradation. Setting up software RAID, You could use software RAID to mirror data across two volumes on the same disk. RAID 1 configuration halves the available capacity on the disk
RAID 5
This is a common configuration for business servers which uses three or more disks. When data is written across disks, a parity block (which is used for error correction and data reconstruction) is written in a different disk. When one of the disks start to fail, the data on that disk can be reconstructed using the parity information on other disks. RAID 5 is common in business servers as disks are considered hot-swappable. Setting up software RAID, A disk that has failed can be replaced with a new one and data is reconstructed back on to this disk.
RAID 10
RAID 10 is a nested RAID configuration that uses mirroring and striping. It combines mirroring provided by disks in RAID 1 and striping through disks in RAID 0 configuration. You will need a minimum of 4 disks to setup RAID 10 and therefore it gives you the lowest usable space as compared to the actual disk size. Setting up software RAID, The upside is that it gives the best performance and idealy suited when your server does a lot of writes (e.g., database server)
RAID can be achieved through a hardware controller or through software, the latter being cheaper to implement. We will setup software RAID on Ubuntu 18.04 using mdadm
RAID: Setup
Linux’s mdadm gives us a way to implement RAID 10 which provides the same benefits as the traditional RAID 10, but doesn’t use the nested array concept. By default two copies of every data block is stored in “near” layout configuration during striping. Setting up software RAID, This can be modified and one of the other layout configurations can be specified
- near – block copies are stored around the same location across all the disks. As an example, if data is split into chunks and one chunk is written at the start of the disk 1, it will be written at the start of the disk 2 when mirroring.
- far – copies of the striped data are stored on different locations across the disks. This means that a chunk of data will be stored at the start of the first disk and towards the mid of the second disk.
- offset – This is a hybrid between near and far, the data on the second disk offsetted by the size of the chunk.
As we begin installing RAID 10, we will identify the disks that we will use.
# lsblk -o NAME,SIZE,FSTYPE,TYPE,MOUNTPOINT
From the output list we can identify the devices that don’t have a filesystem. In our article, I will refer to them as /dev/sda, /dev/sdb, /dev/sdc and /dev/sdd
To create the RAID 10 array, we will fire the mdadm command with the –create option. The device name we will create is called /dev/md0. We will override the default ‘near’ layout with ‘offset’.
# mdadm --create --verbose /dev/md0 --level=10 --layout=o2 --raid-devices=4 /dev/sda
/dev/sdb /dev/sdc /dev/sdd
The tool starts configuring the array which can take a while depending the size of the disks. You can monitor progress via the cat /proc/mdstat command. The array is available for use even though it is being configured in the background.
To create a filesystem on the array, use the mkfs command.
# mke2fs –t ext4 –F /dev/md0
Next create a mount point for the filesystem
# mkdir –p /mnt/md0
And mount the filesystem by typing
# mount /dev/md0 /mnt/md0
Now the new filesystem is mounted and accessible.
We need to make sure the array is available at the next boot. This requires a change to the mdadm.conf file. We do this by saving the current configuration to the /etc/mdadm/mdadm.conf file
# mdadm --detail --scan >> /etc/mdadm/mdadm.conf
To make the RAID array available to the initial RAM file system (initramfs), run the update-initramfs -u command. Setting up software RAID – Finally, to mount the new filesystem automatically at boot time, add this line to the /etc/fstab file
# echo '/dev/md0 /mnt.md0 ext4 defaults,nofail,discard 0 0' >> /etc/fstab
Setting up software RAID – Now your RAID is setup and available each time you boot your server without having to assemble the array every time.
While RAID is a good way to improve reliability and build in fault tolerance for your disks, it must never be considered a form of backup. Setting up software RAID, You could improve your backup reliability by setting up your backup in a RAID configuration.
Check special dedicated server offers by ColoCrossing!
Modern businesses rely heavily on robust infrastructure, and that’s why solutions like colo and colocation continue to grow in demand. As companies scale, many discover that a bare metal server or a fully managed bare metal dedicated server provides the performance and control they need to stay competitive. With bare metal dedicated servers , organizations get unmatched speed, security, and customization that virtualized setups simply cannot match. This is also why enterprises are shifting toward dedicated hosting options and exploring best dedicated server hosting providers for mission-critical workloads. Whether you’re evaluating dedicated server hosting for the first time or upgrading to a more powerful dedicated server , having access to reliable dedicated servers is essential for maintaining uptime, boosting performance, and ensuring long-term scalability.
ColoCrossing excels in providing enterprise Colocation Services, Dedicated Servers, VPS, and a variety of Managed Solutions, operating from 8 data center locations nationwide. We cater to the diverse needs of businesses of any size, offering tailored solutions for your unique requirements. With our unwavering commitment to reliability, security, and performance, we ensure a seamless hosting experience.
For Inquiries or to receive a personalized quote, please reach out to us through our contact form here or email us at sales@colocrossing.com.

