
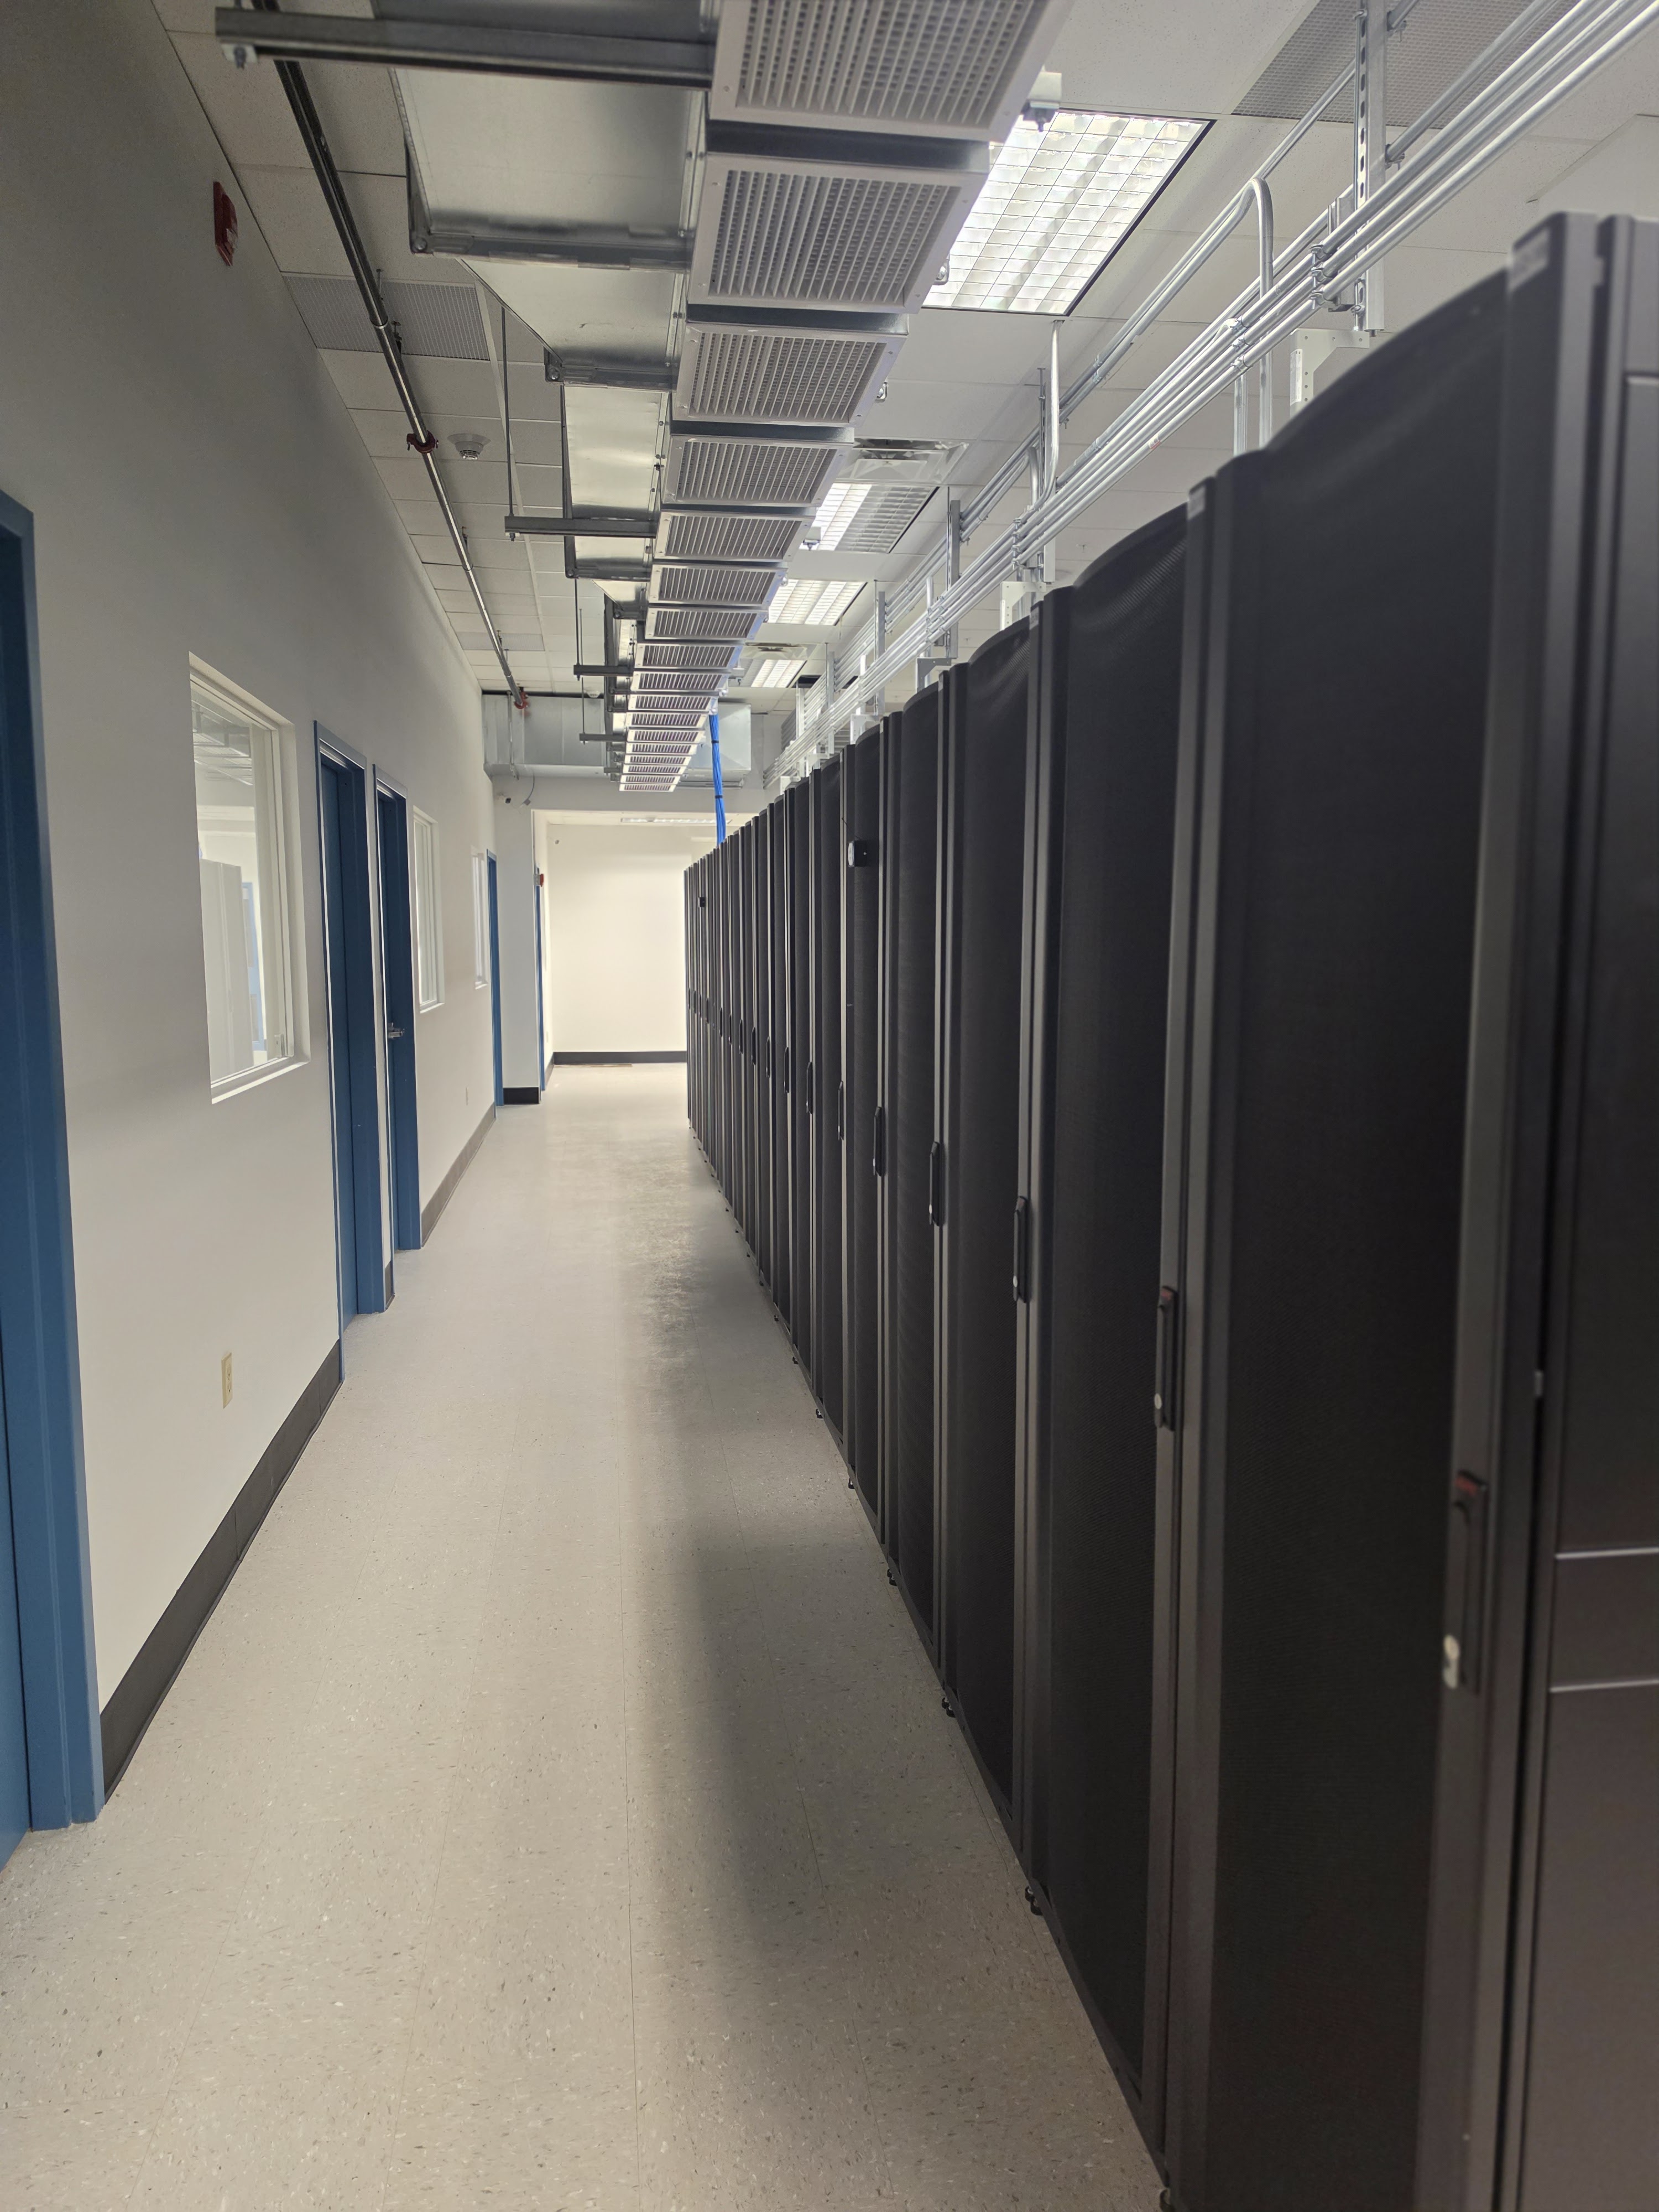
Dedicated Server Migration Guide
Migrating to a dedicated server is a critical move that can dramatically improve performance, security, and scalability but only if executed flawlessly. A poorly planned migration risks downtime, data loss, and angry customers. This comprehensive dedicated server migration guide walks you through every phase with proven 2026 methods, ensuring zero downtime and a smooth transition. Whether you’re moving from shared hosting, VPS, or another bare metal server, dedicated server migration guide, follow this step-by-step roadmap for success.
Why Migrate to a Dedicated Server?
Before diving into the process, understand why businesses choose dedicated server migration guide:
- Performance: Exclusive CPU, RAM, and storage eliminate resource contention
- Security: No neighbors means reduced attack surface and full firewall control
- Scalability: Handle traffic spikes without bottlenecks
- Compliance: Meet PCI-DSS, HIPAA, and GDPR with isolated environments
- Customization: Install any software, kernel, or OS configuration
Organizations report 3-5x speed improvements and 99.99% uptime post-migration.
Phase 1: Pre-Migration Planning (Most Critical)
This is the most important phase of dedicated server migration guide. Thorough planning prevents surprises later on.
Step 1.1: Assess Your Current Environment
Start with a complete inventory:
-
Hardware: Document CPU cores, RAM amount, storage type (HDD/SSD/NVMe), and network bandwidth
-
Software Stack: List OS version, web server (Apache/Nginx), database (MySQL/PostgreSQL), PHP/Node.js versions, and control panels (cPanel/Plesk)
-
Applications: Identify all running apps, APIs, cron jobs, and third-party integrations
-
Traffic Patterns: Measure daily/monthly visitors, peak hours, and bandwidth usage
Use tools like htop, vmstat, and NetData to collect metrics. Always plan specs 20-30% above current usage for growth.
Step 1.2: Choose Your Migration Strategy
Decide between two approaches of dedicated server migration guide:
For most businesses, lift-and-shift works, but refactor if moving to newer OS versions.
Step 1.3: Create a Rollback Plan
- Keep old server online for at least 1 week post-migration
- Document exact steps to revert DNS and restore data
- Test rollback procedure before going live
- Set budget for emergency support if issues arise
This server migration planning visual emphasizes the importance of documentation and preparation before moving to dedicated infrastructure.
Step 1.4: Set Timeline and TTL
- Lower DNS TTL: Change to 300 seconds (5 minutes) 48 hours before cutover for fast propagation
- Schedule Downtime: If unavoidable, pick off-peak hours (2-5 AM local time)
- Communicate: Notify customers/stakeholders of the migration window
Phase 2: Backup Everything
Never skip this step of dedicated server migration guide. Create comprehensive backups:
Step 2.1: Full Server Backup
- Files: Use
tar -czvf backup-site.tar.gz /var/www/htmlfor Linux or archive tools for Windows - Databases: Run
mysqldump -u user -p database > backup.sqlorpg_dumpfor PostgreSQL - Email: Export mailbox accounts and configurations
- Configs: Document firewall rules, SSH keys, SSL certificates, and crontabs
Step 2.2: Verify Backup Integrity
- Test restoring backup to a local machine or staging server
- Check file checksums (MD5/SHA256) match originals
- Ensure database imports work without errors
Store backups locally and on cloud storage (S3, Google Drive) for redundancy.
Phase 3: Provision and Configure New Server
Step 3.1: Install OS and Software Stack
- Choose OS: Ubuntu 22.04 LTS, CentOS 9, or Windows Server 2022
- Install web server (Apache/Nginx), database, and language runtimes
- Set up control panel if needed (cPanel, DirectAdmin, Plesk)
Plan specs based on Phase 1 assessment: At least 20% headroom for traffic spikes.
Step 3.2: Harden Security
Lock down from day one:
- Firewall: Configure UFW/iptables, allow only necessary ports (80, 443, 22)
- SSH: Disable root login, enable SSH keys only, change default port
- DDoS Protection: Enable provider-level mitigation
- Updates: Run
apt update && apt upgradeand enable auto-security patches - Monitoring: Install tools like Fail2Ban, AIDE, and CloudWatch
Step 3.3: Test Connectivity
- Verify network access from your IP
- Test external services (SMTP, APIs, payment gateways)
- Perform initial data restore from backup to confirm environment works
Phase 4: Data Migration and Sync
Step 4.1: Transfer Files and Databases
Use efficient tools:
- Files:
rsync -avz --progress /source/ user@new-server:/destination/for incremental sync - Databases: Import dump files with
mysql -u user -p database < backup.sql - Email: Recreate accounts and import mailboxes
Step 4.2: Set Up Incremental Sync
Until go-live, catch changes:
- Run sync scripts every 15-30 minutes
- Final sync 1 hour before DNS cutover
- Pause writes on old server during final sync to prevent conflicts
Step 4.3: Test on New Server (Host-File Method)
Before DNS changes:
- Edit local
/etc/hostsfile to map domain to new IP - Test all pages, forms, APIs, and payment gateways
- Run load tests (e.g., Apache Bench, JMeter) for peak traffic
Phase 5: Go-Live Cutover
Step 5.1: Final Sync and Maintenance Mode
- Pause old server or enable maintenance mode
- Run final
rsyncto capture last changes - Verify database consistency
Step 5.2: Update DNS Records
Switch over:
- Update A record to new dedicated server IP
- Update MX records for email if changing servers
- Update CNAMEs for subdomains
Monitor propagation with tools like dig or WhatsMyDNS. Expect 24-48 hours globally, faster with low TTL.
Step 5.3: Bring Application Live
- Remove maintenance mode
- Test on live domain
- Verify SSL certificates work (HTTPS)
- Check user sessions and login functionality
Phase 6: Post-Migration Monitoring
Step 6.1: Monitor 24-48 Hours Closely
- Track CPU, RAM, disk I/O, and bandwidth usage
- Review error logs (Apache/Nginx, application, database)
- Monitor for unusual traffic or attack attempts
- Validate SEO redirects (301 for any URL changes)
Step 6.2: Verify Everything Works
- Test all forms, search, and checkout processes
- Confirm email sending/receiving
- Check analytics and tracking pixels
- Run performance benchmarks vs. old server baseline
Step 6.3: Decommission Old Server
After 1 week of stability:
- Securely wipe old server data
- Cancel hosting subscription
- Keep backup archives for 3 months minimum
Common Migration Mistakes to Avoid
- Skipping backups: Data loss is irreversible
- Ignoring TTL settings: Slow propagation causes downtime
- No rollback plan: Disaster recovery fails
- Insufficient testing: Production issues spiral
- Forgetting email: MX records often overlooked
How Long Does Migration Take?
With proper planning, most migrations complete in one business day.
Final Thoughts: Your Roadmap to Success
This dedicated server migration guide provides a proven framework for 2026 migrations. Follow each phase, test thoroughly, and you’ll achieve zero downtime with improved performance. Ready to upgrade? Start with Phase 1 planning today and migrate with confidence. Your dedicated server awaits.
ColoCrossing excels in providing enterprise Colocation Services, Dedicated Servers, VPS, and a variety of Managed Solutions, operating from 10 data center locations nationwide. We cater to the diverse needs of businesses of any size, offering tailored solutions for your unique requirements. With our unwavering commitment to reliability, security, and performance, we ensure a seamless hosting experience.
For Inquiries or to receive a personalized quote, please reach out to us through our contact form here or email us at sales@colocrossing.com.

